
A freshly brewed cup of coffee is the cornerstone of many morning routines. However, over time, coffee makers can accumulate mineral deposits, coffee oils, and other impurities that not only affect the taste of your coffee but can also harm your machine. Regular cleaning is essential to maintain the quality of your brew and extend the lifespan of your coffee maker. In this ultimate guide, we’ll walk you through the steps to effectively clean various types of coffee makers, ensuring each cup you pour is as delightful as the last.
Why Regular Cleaning is Essential
Before diving into the cleaning process, it’s crucial to understand why maintaining a clean coffee maker is so important:
- Enhanced Flavor: Residual coffee oils can become rancid over time, imparting off-flavors to your brew. Regular cleaning ensures that each cup tastes fresh and pure.
- Optimal Performance: Mineral buildup, especially from hard water, can clog your machine’s internal components, leading to inefficiencies or malfunctions.
- Health Benefits: Moist environments inside coffee makers can be breeding grounds for mold and bacteria. Regular cleaning minimizes health risks associated with these contaminants.
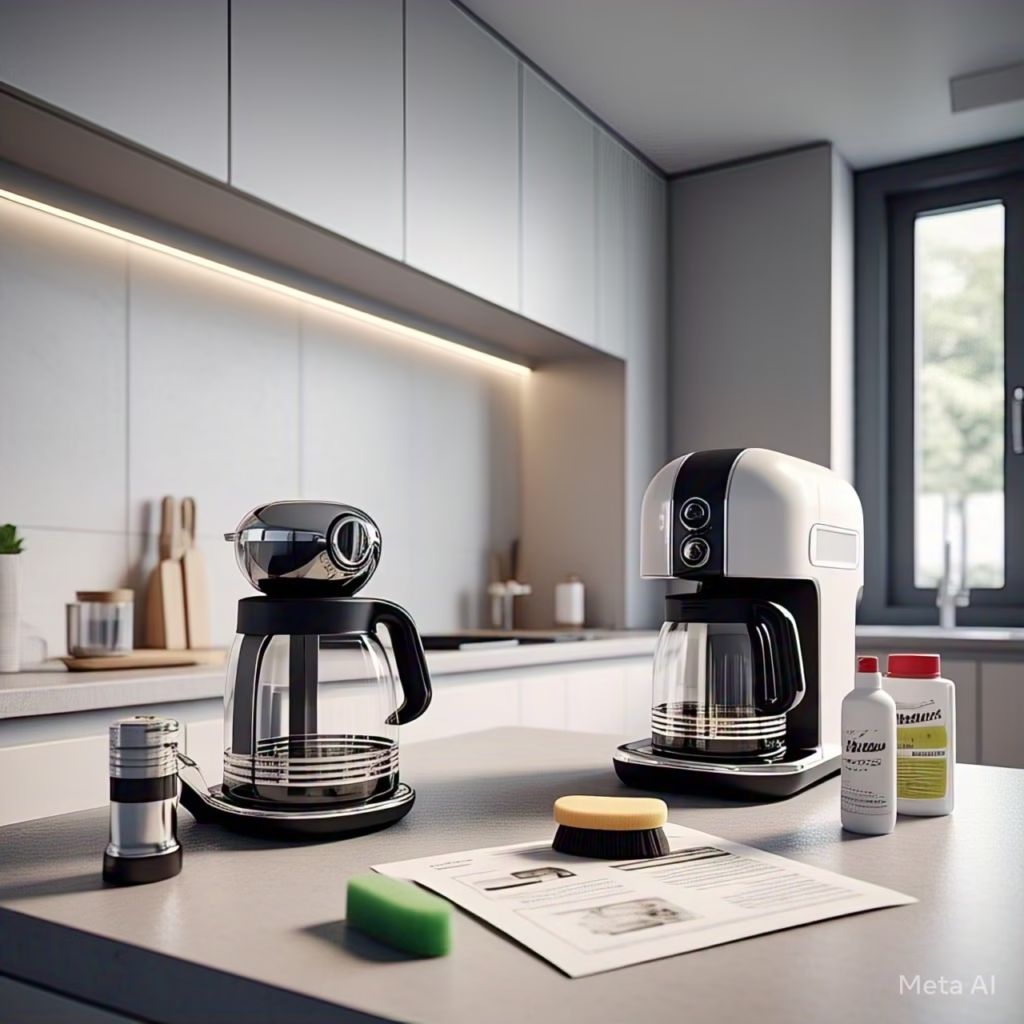
General Cleaning Supplies
For most coffee makers, you’ll need the following supplies:
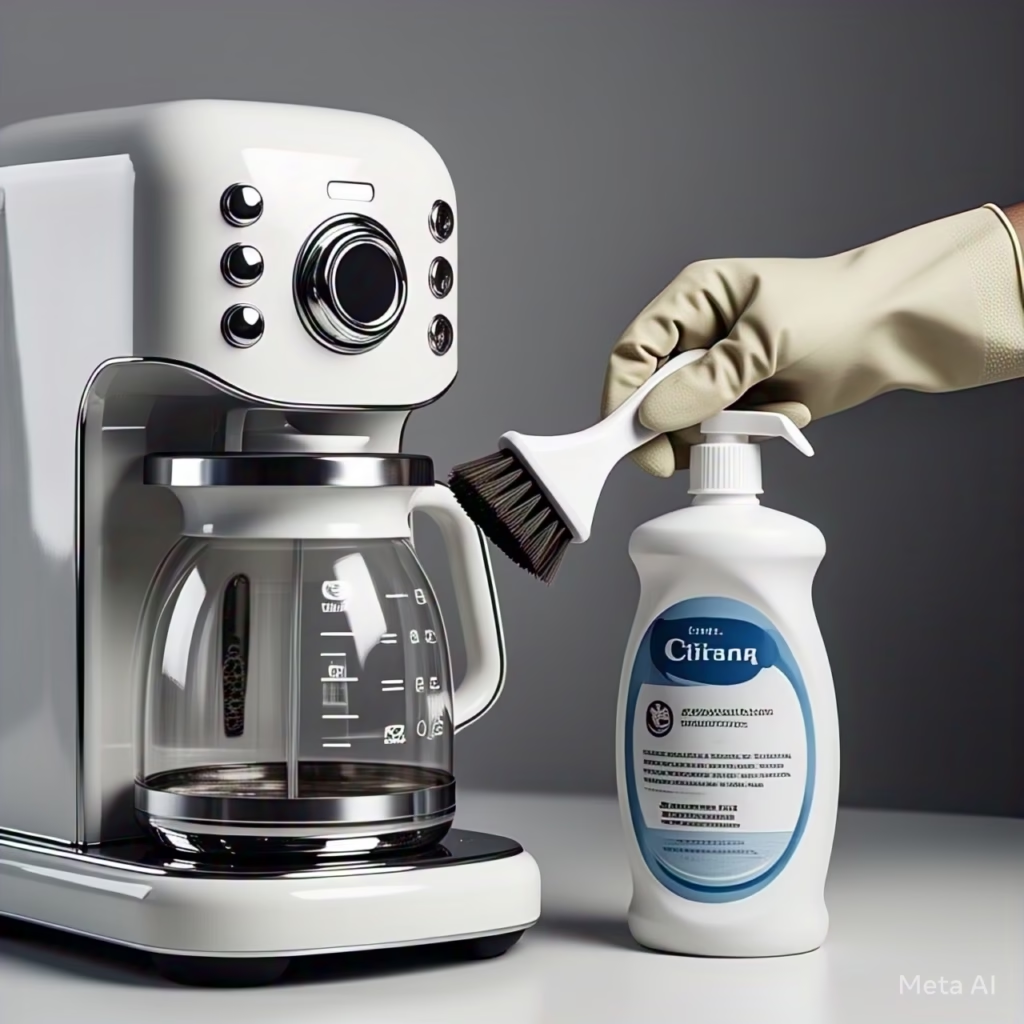
- Mild Dish Soap: For cleaning removable parts.
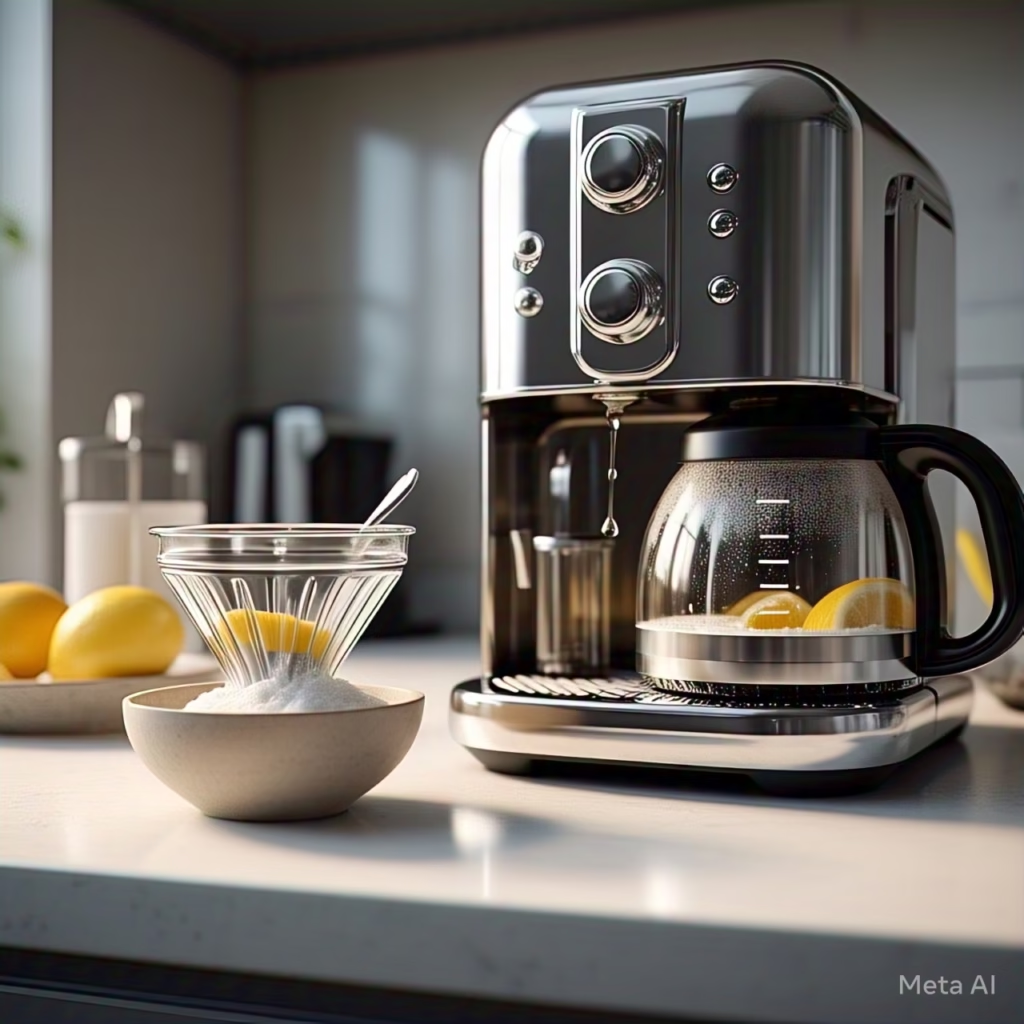
- White Distilled Vinegar: A natural descaling agent to remove mineral buildup.
- Fresh Water: For rinsing.
- Soft Cloth or Sponge: To wipe down surfaces.
- Paper Filter: Optional, for machines that use them during the cleaning cycle.
Step-by-Step Cleaning Guide for Drip Coffee Makers
- Daily Cleaning:
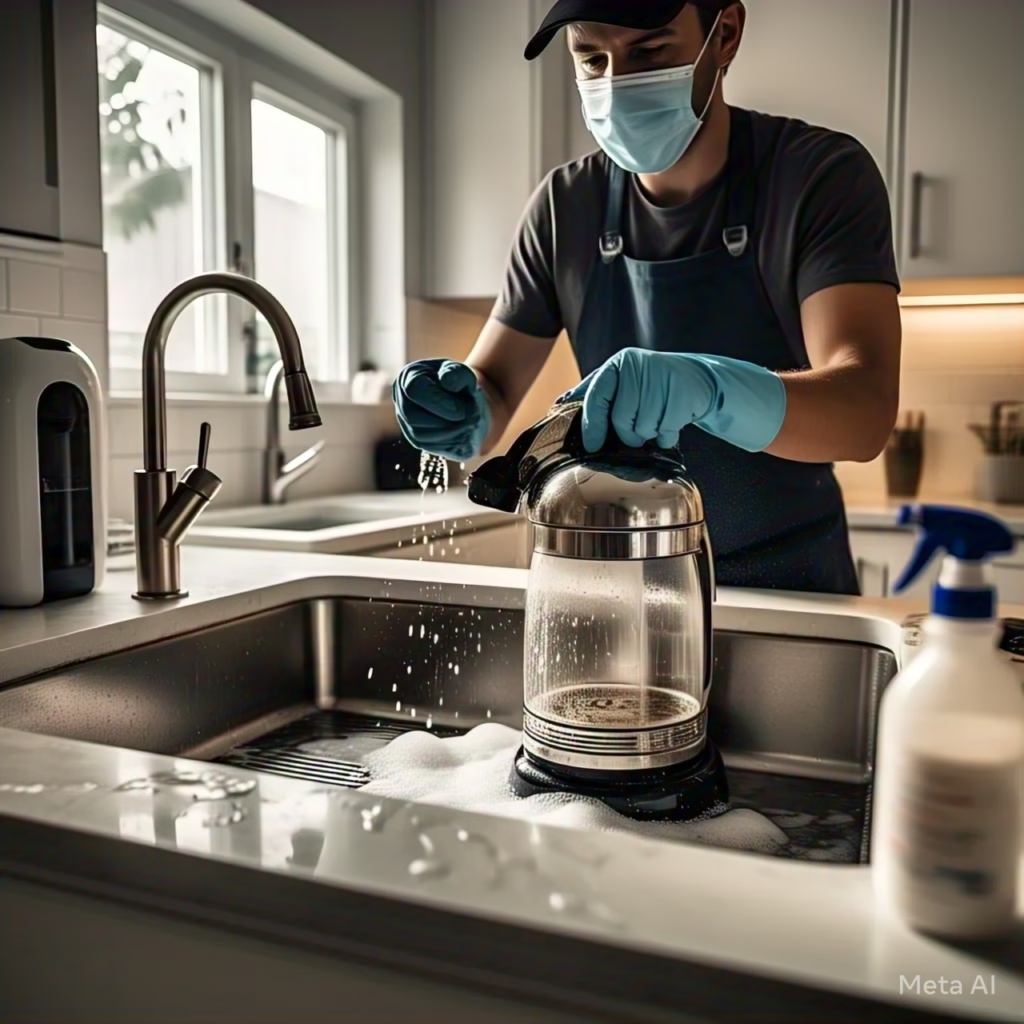
- Empty and Rinse: After each use, discard the used coffee grounds and rinse the carafe and filter basket with warm water.
- Wash Removable Parts: Using mild dish soap, wash the carafe, filter basket, and any other removable components. Allow them to air dry completely before reassembling.
- Wipe Down the Machine: With a damp cloth, wipe the exterior of the coffee maker to remove any spills or coffee grounds.
- Monthly Deep Cleaning:
- Prepare the Cleaning Solution: Mix equal parts white distilled vinegar and water. For a standard 12-cup coffee maker, you’ll need about 6 cups of each.
- Fill the Reservoir: Pour the vinegar-water solution into the water reservoir.
- Run a Brewing Cycle: Start a brew cycle. Midway through, turn off the machine and let it sit for 30 minutes. This helps the solution dissolve and remove mineral buildup.
- Complete the Cycle: After 30 minutes, turn the coffee maker back on and let the cycle finish.
- Rinse Thoroughly: Run 2-3 cycles with fresh water to remove any residual vinegar taste.
Cleaning Single-Serve Machines (e.g., Keurig)
Single-serve machines require special attention due to their unique design:
- Remove and Clean Components: Take out the water reservoir, lid, and drip tray. Clean them with warm, soapy water and allow them to air dry.
- Clean the Pod Holder: Open the machine to access the pod holder. Remove it and wash with soapy water. Use a paperclip or a specialized tool to clear any coffee grounds from the needle that punctures the pods.
- Descale the Machine:
- Prepare the Descaling Solution: Fill the water reservoir with a descaling solution or a mixture of half white vinegar and half water.
- Run Brew Cycles: Without inserting a pod, run multiple brew cycles until the reservoir is empty. Discard the liquid each time.
- Rinse: Fill the reservoir with fresh water and run additional cycles to ensure all descaling solution is flushed out.
- Wipe Down: Clean the machine’s exterior with a damp cloth.

Cleaning Espresso Machines
Espresso machines have more components and require meticulous care:
- Daily Cleaning:
- Purge the Steam Wand: After each use, wipe the steam wand with a damp cloth and purge it to remove any milk residue.
- Rinse Portafilter and Basket: Remove the portafilter, discard the used coffee grounds, and rinse both the portafilter and basket with warm water.
- Weekly Cleaning:
- Backflushing: If your machine has a three-way valve, perform a backflush using a blind filter and a recommended cleaning agent.
- Clean the Group Head: Use a brush to scrub the group head to remove coffee residues.
- Monthly Descaling:
- Prepare Descaling Solution: Use a commercial descaling solution or a mixture of equal parts water and white vinegar.
- Run the Solution Through the Machine: Follow the manufacturer’s instructions to run the descaling solution through the machine.
- Rinse Thoroughly: Run multiple cycles with fresh water to ensure all descaling solution is removed.
Alternative Cleaning Agents
While white vinegar is a popular choice, there are other effective cleaning agents:
- Lemon Juice: Its natural acidity makes it a good alternative to vinegar for descaling.
- Baking Soda: A mild abrasive that can help remove stains and odors.
- Commercial Descalers: Specifically formulated to remove mineral buildup without harming your machine.
Tips for Maintaining a Clean Coffee Maker
- Use Filtered Water: This reduces mineral buildup and can enhance the flavor of your coffee.
- Replace Water Filters: If your machine has a water filter, replace it as recommended by the manufacturer.
- Store Properly: When not in use, keep the lid of the water reservoir open to allow it to dry completely, preventing mold growth.
- Regular Maintenance Schedule: Set reminders to perform daily, weekly, and monthly cleaning tasks to ensure consistent coffee quality.
Conclusion
A clean coffee maker is integral to brewing delicious coffee and ensuring the longevity of your machine. By incorporating regular cleaning routines and using the appropriate
cleaning agents, you can enjoy a consistently great cup of coffee every day. Remember, the effort you put into maintaining your coffee maker directly reflects in the quality of your brew. Cheers to many more delightful mornings!
